Raster Graphic -> Vector Graphic (by hand)
The advantages of Vector Graphic over Raster Graphic:
- Viewable at any zoom level
- Smaller file size
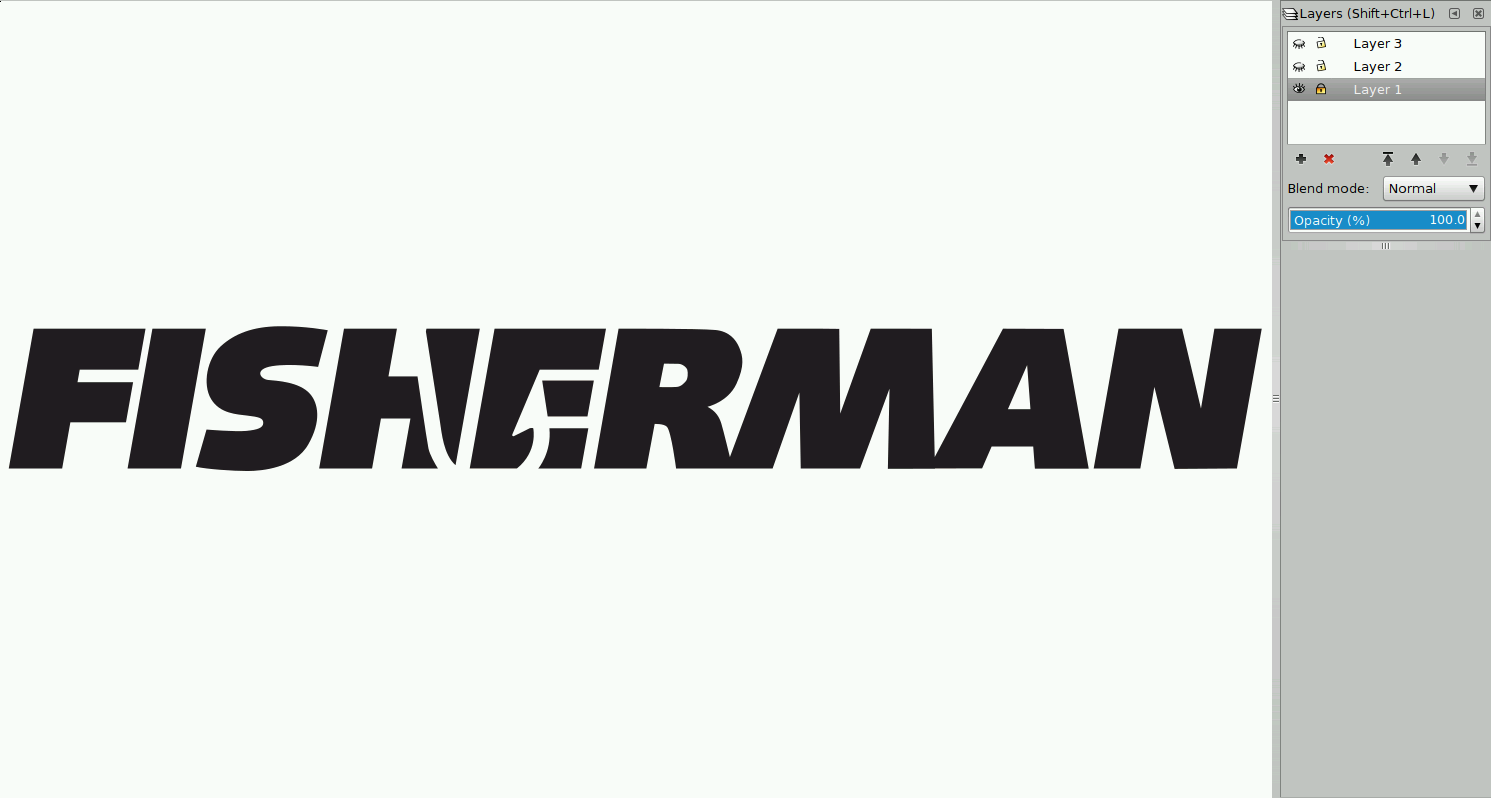
I have been given a task to change the fisherman's logo (15k) into a high resolution svg. I am using the inkscape editor to do this task.
Getting started
- Import (
Ctrl+I) the background. - Toggle the Layers with
Shift+Ctrl+L. - Create 2 new layers (one for the word and one for hook).
- Lock the background layer just to make sure it's safe.
- Tips: Lower the opacity on non-background to copy easier.
- Tips: Enter
4to zoom to the width of the drawing.
Drawing the words
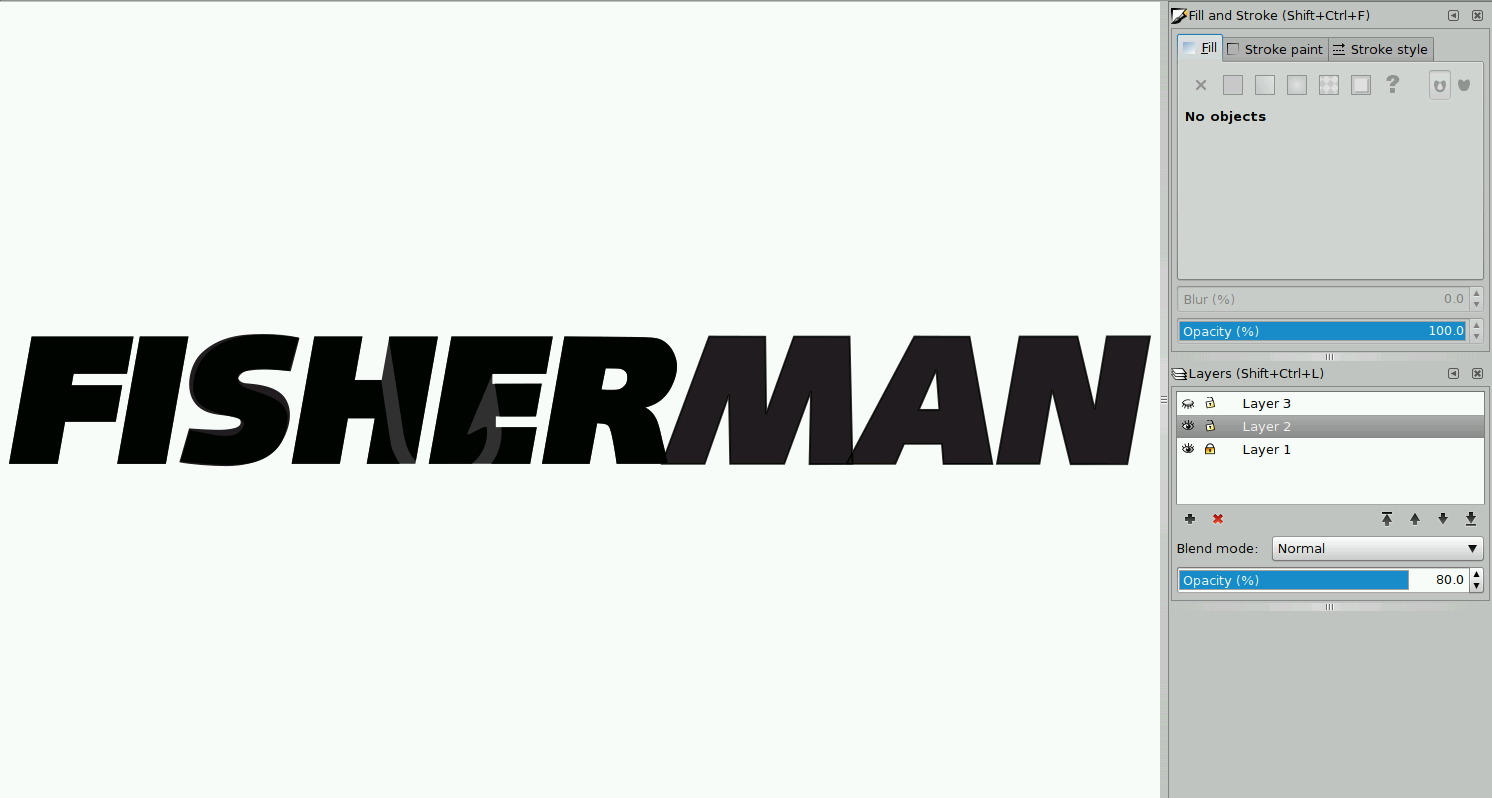
- Switch to the second layer (
Ctrl+PageUp). - Use
Shift+F6to draw the curves and straight lines. - Select those words that have inner part (eg.
R). - Use Subtract with
Ctrl+-to remove those inner parts. - Select those words that have overlapped part (eg.
RM). - Use Union with
Ctrl++for parts that are overlapped.
After drawing
- select all of it.
- Toggle the Fill and Stroke with
Shift+Ctrl+L. - Use a flat color for the fill and disable the stroke color.
Drawing the anchor
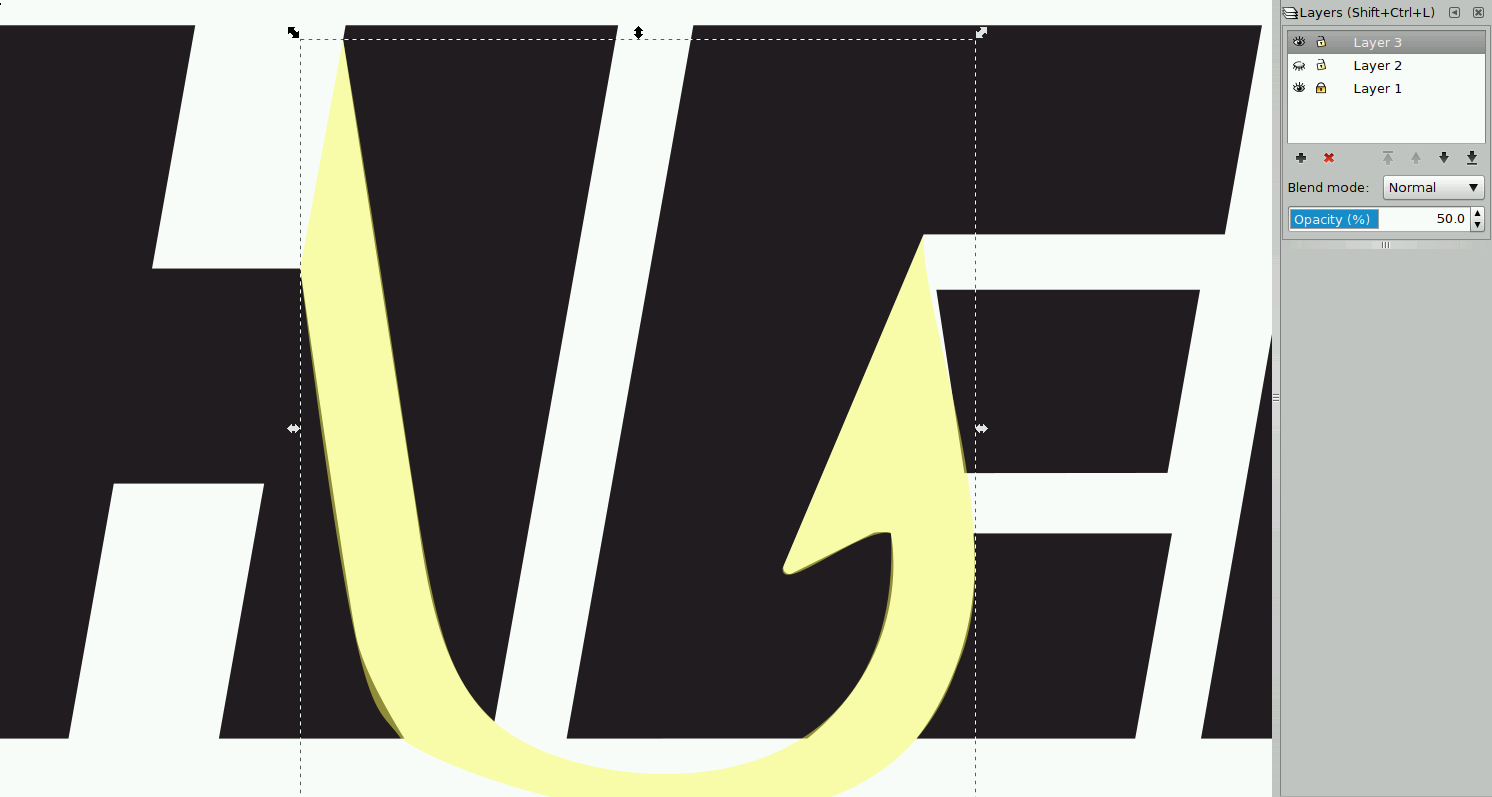
- Switch to the third layer (
Ctrl+PageUp). - Hide (the eye button) the second layer to focus on the anchor.
- Draw the empty space (anchor) in the words and fill the gaps.
- Tips: Use a random color to draw the anchor to draw easier.
- Select the anchor and toggle the Fill and Stroke.
- Max out the options in the RGB section to make it white.
The final farewell
- In Document Properties (
Shift+Ctrl+D), set custom size and resize page to drawing. - Save (
Ctrl+S) the file as a backup copy. - Delete the background layer and Unhide the other layers.
- Save As (
Shift+Ctrl+S) the file as an optimized svg.- Remove XML indentation and tons of stuff to keep it minimal.
- TADA Work done!


